A small tear in a canvas can be heartbreaking. Luckily, most can be fixed reasonably successfully. This DIY canvas repair is best left to the artist.
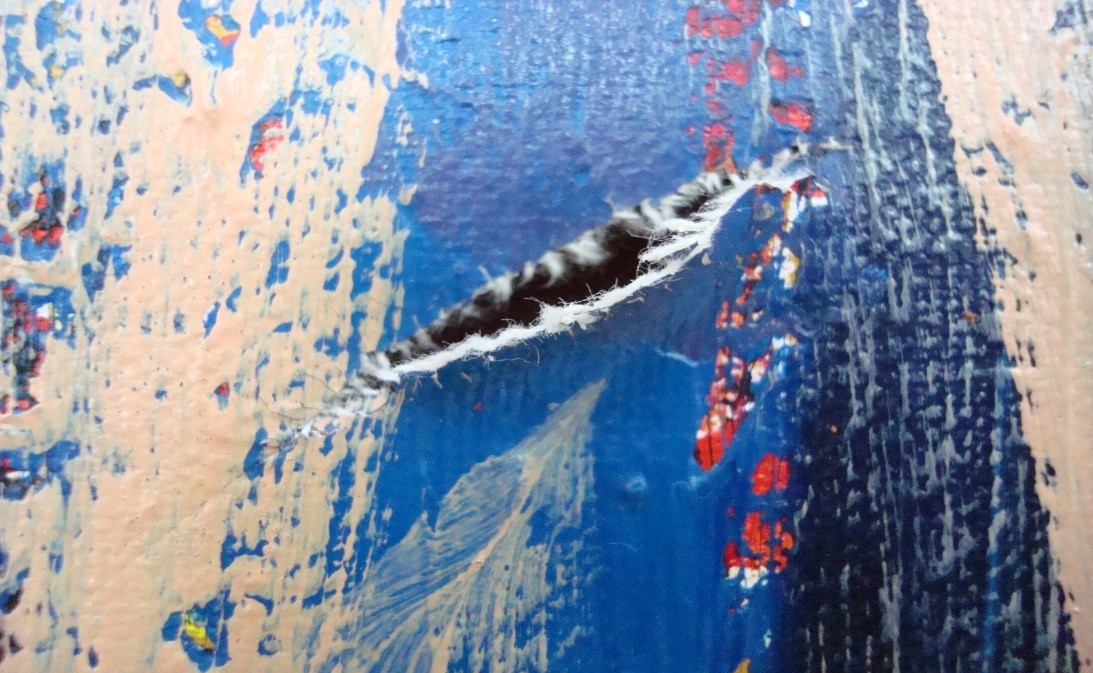
Here are step-by-step tips to help you with your DIY canvas repair
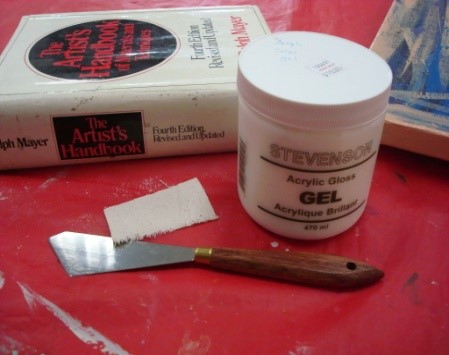 SUPPLIES
- Acrylic gel
- Palette knife
- #12 unprimed canvas
- Sheets of disposable palette paper or glassine
- A heavy book
- Paint brushes and paints to match the artwork
STEPS
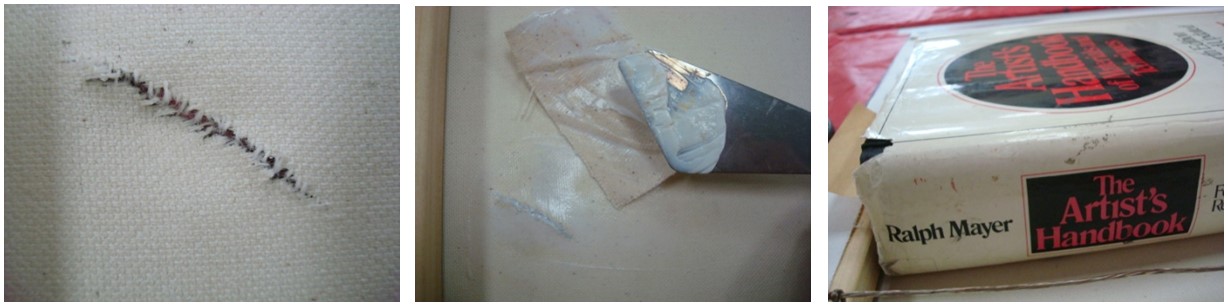
- Place the canvas face down on a clean, smooth surface.
- Place a sheet of glassine or palette paper under the torn spot.
- From the back, match the torn edges and carefully pull the loose strands to the back side.
- Cut a small patch of #10 canvas larger than the tear. Leave about 1” extra on all sides.
- Brush some acrylic gel over the back of the tear. 6. Scoop out more gel with a palette knife and scrape generously onto the entire canvas patch.
- Ensure the gel covers the edges.
- Place the patch over the tear and press down gently, working from the centre to the outside edges. This action helps remove any bubbles or excess gel, which you should wipe away.
- Place the sheet of palette paper or glassine on top of the patch. Place a heavy object (like that giant, expensive, art history book from art school) over top of the protected patch 10.
- Let it sit for 24 hours.
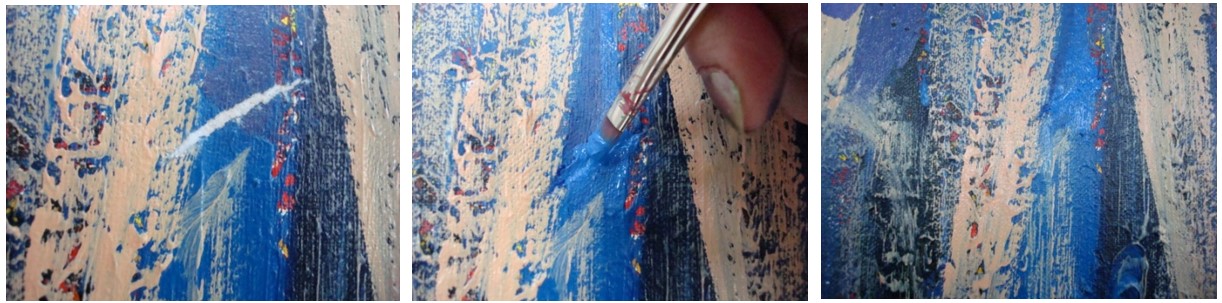
- After that time, you can touch up the painting if necessary.
_________________________
Kim Fjordbotten (June 2020) As owner of The Paint Spot, Kim Fjordbotten is passionate about helping artists use materials and make art. She is available as a speaker and educator for teachers and art associations. The Paint Spot offers exhibitions, workshops, and beautiful art materials to inspire your creativity.
Notice you are not bombarded with advertising while sourcing this information. Please help us by purchasing your art supplies from The Paint Spot. We really appreciate your business and it means we can keep making educational posts for free. Thank you.