Not everyone chooses to varnish their painting. The benefits of applying a coat of varnish to an acrylic painting are: to improve the appearance of, and unify the finish of the work; to make it easier to clean; to provide a barrier to dust, pollutants, and physical damage. This post will help you avoid some of the pitfalls of applying varnish to a painting.
Although acrylic varnishes are essentially easy materials to apply, there are pitfalls to avoid. Below is an abbreviated summary of some of the steps you should take to avoid problems many artists have experienced, to their disappointment. We strive to provide useful information, but these tips shouldn’t be considered complete instructions on varnishing paintings.
1. Gels and mediums are not varnish
Use products that are clearly labeled as varnish. Mediums and gels are not varnishes. There are significant drawbacks to using a medium in place of a varnish: the coating will remain slightly tacky when dry and therefore actually attract and hold dust; and it is not reversible (removable) as a varnish should be.
2. Read the labels for guidelines on diluting
Acrylic varnishes are concentrated – have the consistency of honey, which is too thick to brush on – and they require thinning. Dilute them just enough (typically 15-20%) to obtain a brushable liquid.
Here is a video to show how to thin Golden Polymer Varnish
3. Acrylic resin varnishes require stronger solvents than OMS
MSA Varnish (solvent-based) cannot be thinned with one of the odourless mineral spirit solvents. These mild solvents are very good for other uses in the studio, but are too weak for thinning varnishes. Use a full-strength solvent or artist-grade turpentine (distilled or rectified). Even some solvents not labelled as odourless are actually too weak for this use and may cause milkiness or increase the thickness of the mixture. Test for compatibility before diluting any quantity of your MSA varnish. Thin your varnish just before you use it, and only as much as you needed for the job. Any thinned matte or satin varnish not used will tend to settle hard and become very difficult to re-stir.
4. Select your preferred shine level
If a matte or satin finish is desired and you wish to apply more than 1 coat of varnish (two coats are adequate in most cases), the first coat(s) should be gloss. Only in the final coat should matte or satin varnish be used, to avoid the possibility of a foggy appearance.

5. Drying time
Be sure to allow sufficient time for the paint to dry before varnishing so as not to impede further drying, and to avoid ‘bloom’ from the still-present moisture. Varnishing too early can cause defects.
Acrylics
Drying time for a thin layer of paint will be 2 weeks and for very thick paint layers, you may have to wait 2 months. A dry surface does not necessarily mean the paint is thoroughly dry.
Isolation Coat A seldom-considered step, highly recommended for acrylics (a step unavailable to oil painters), is the application of an isolation coat of glossy soft gel, GAC 500 or Golden Isolation Coat before varnishing. This offers a barrier coat over the paint for protection during the removal of the varnish. Soft gel (gloss) is the best gel for this use as it has excellent clarity and good spreadability with little foaming. Dilute 2:1 gel to water.
Oils
Do not varnish your oil painting until the paint is fully cured. It takes oil paints a long time to fully dry or cure, so to be safe, wait at least six months or a year. A common cause of oil paintings peeling or blistering because of turpentine use and improper curing before varnishing. If the oil paint was applied very thickly, without driers, you might want to wait even longer. However, Gamblin offers different advice in their blog post Varnishing Help
6. Before you varnish a painting mix products thoroughly
The most common mistake is failure to mix matte and satin varnishes thoroughly before applying. The result is a patchy or streaky finish. Matte and satin varnishes require complete mixing. Avoid generating bubbles that might remain after drying by stirring to mix, rather than stirring, not shaking. Be careful not to create bubbles, either by shaking the varnish or by overworking the application. Also, proper thinning of the varnish will help the bubbles to break and disappear.
7. Varnish is to be a final layer only
Never paint over a varnish layer. Paints will not adhere well to varnish, and the paint layers will be lost when the varnish is removed for restoration.
8. It’s best to test before you varnish a painting
It is always important to make a test application on a material similar to the piece you have painted before you apply the varnish to your painting. In this way, you can see just what the effect will look like before you commit yourself. If a miscalculation is made, make it here.
9. Varnishing requires you choose the right brush
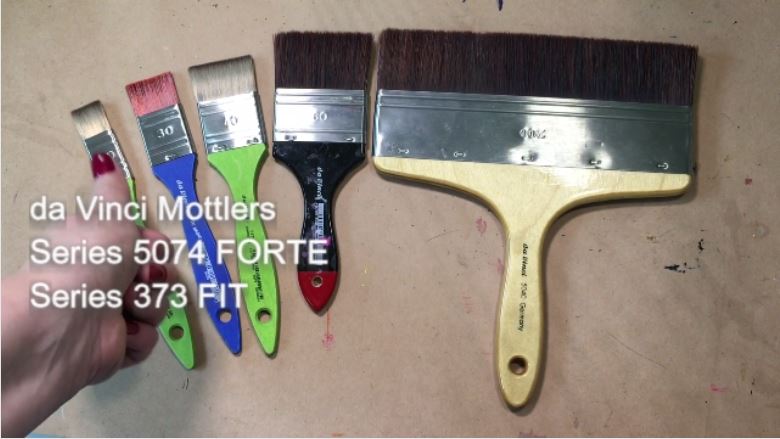
Be certain that the brush or other tool you use to apply the varnish will hold up to such use. We know an artist who followed the teacher’s advice and used a foam (sponge) brush to apply polymer varnish. The foam deteriorated during the application and left particles of the foam embedded in the varnish. The only remedy was to painstakingly remove the entire film of varnish — a nasty job. Use a good bristle or soft natural hair brush. We recommend da Vinci Synthetic Mottlers.

10. Work flat and horizontally when you varnish a painting
Whenever possible, lay the newly-varnished work flat (horizontal) in a dust-free area to dry so that no runs occur. Apply an aerosol varnish to the work also in a horizontal position. Avoid working vertical as varnish may drip or sag.
11. Calculate your coverage requirements
We are often asked about coverage of the varnishes. You should expect to cover 400 to 800 square feet with each gallon of (diluted) varnish. This wide range represents the many variables encountered in painting varnish onto a wall, such as wall texture, viscosity or thickness, method of application, wastage, evaporation rate and more.
12. Tips for using spray varnish
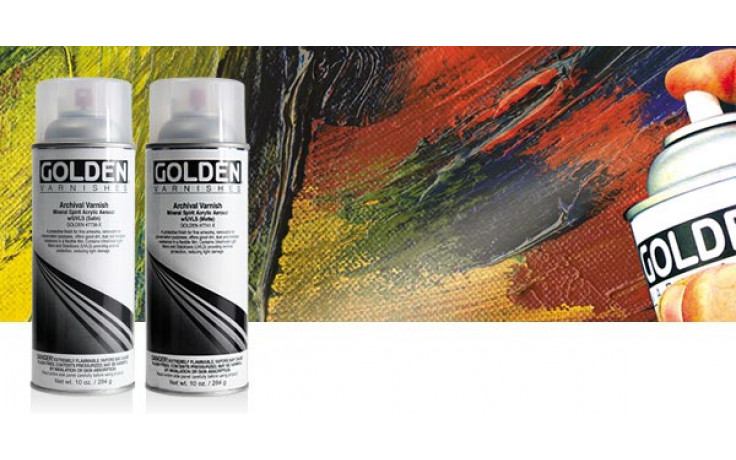
Spray varnishes are also available for oil and acrylic paintings, including Golden’s Aerosol MSA Varnishes. For best results:
- Start spraying before the edge of the canvas, and stop after it, with the nozzle fully depressed
- Apply 2-3 light coats, not 1 heavy coat
- Lay canvas horizontally to spray
- Spray in a ventilated area as the spray is toxic
- Spray with the nozzle inverted to clear it when completed, to avoid clogging
- Let the work dry standing upright in a warm, clean area.

These are the ‘brush-on’ acrylic varnishes available at The Paint Spot:

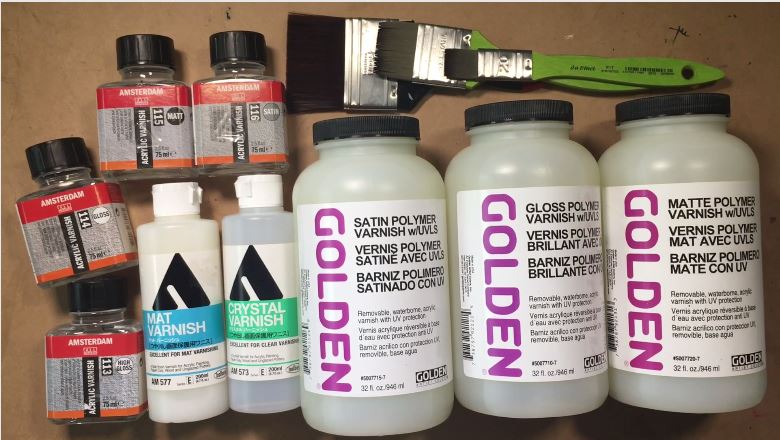
- Golden Polymer Varnish, gloss (water-based)
- Golden Polymer Varnish, satin (water-based)
- Golden Polymer Varnish, matte (water-based)
- Holbein Crystal Varnish, gloss (water-based)
- Holbein Matte Varnish, matte (water-based)
Resin varnish for oils or acrylics
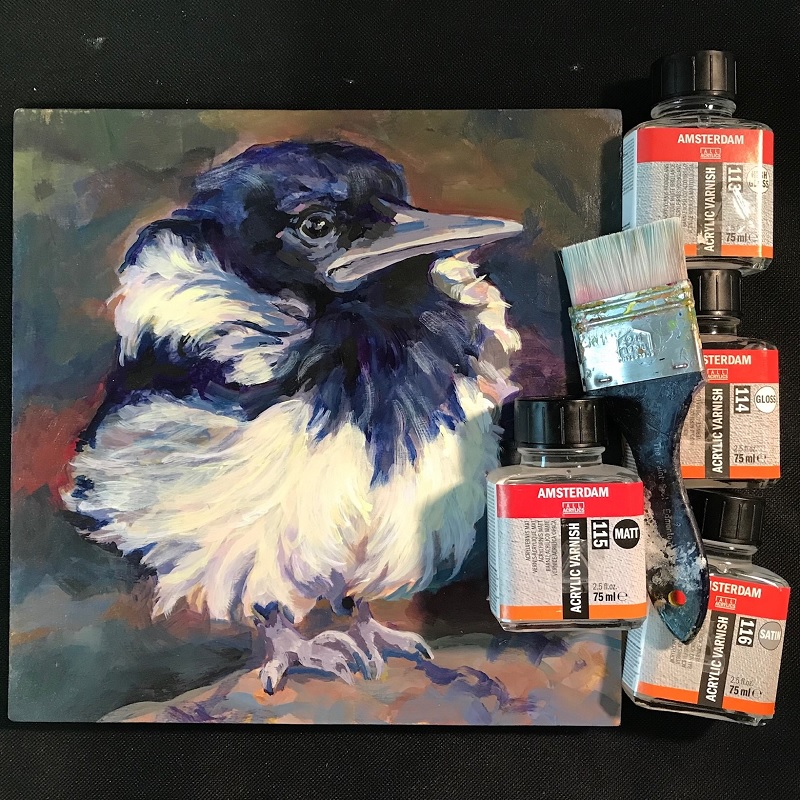
- Amsterdam Varnish, high gloss (resin, solvent-based)
- Amsterdam Varnish, gloss (resin, solvent-based)
- Amsterdam Varnish, satin (resin, solvent-based)
- Amsterdam Varnish, matte (resin, solvent-based)
- Golden MSA Varnish, gloss (resin, solvent-based)
- Golden MSA Varnish, satin (resin, solvent-based))
- Golden MSA Varnish, matte (resin, solvent-based)
- Gamblin MSA Varnish, gloss (resin, solvent-based)
- Gamblin MSA Varnish, satin (resin, solvent-based)
- Gamblin MSA Varnish, matte (resin, solvent-based)
If you are not sure about any of these points, please feel free to ask us. We are able to assist.
GOLDEN has excellent information on the use and application of its varnishes. Click here to read their application and trouble-shooting guide.
_________________________________________
Kim Fjordbotten (August 2019) As the owner of The Paint Spot, Kim Fjordbotten is passionate about helping artists use materials and make art. She is available as a speaker and educator for teachers and art associations. The Paint Spot offers exhibitions, workshops, and beautiful art materials to inspire your creativity.
Notice you are not bombarded with advertising while sourcing this information. Please help us by purchasing your art supplies from The Paint Spot. We really appreciate your business and it means we can keep making educational posts for free. Thank you.
